DIY Ottoman Pouf: A Step-by-Step Guide
Posted by ADIL ROUAY

To make an ottoman pouf: cut two 22-inch fabric circles plus a side panel, sew them into a drum shape leaving a 6-inch gap, turn it right-side out, stuff it firmly, then hand-stitch the gap closed. It takes about 4–6 hours of work, easily done over a weekend. Here's the full step-by-step.
DIY ottoman poufs are easier than you think — cozy foot rests you can customize to your exact size and fabric.
What Materials Do You Need?
First things first, let's gather our supplies:
- 1 yard of sturdy fabric (think denim, canvas, or upholstery fabric)
- Stuffing (old clothes, foam, or poly-fil work great)
- Sewing machine (or needle and thread for you brave souls)
- Scissors
- Pins
- Measuring tape
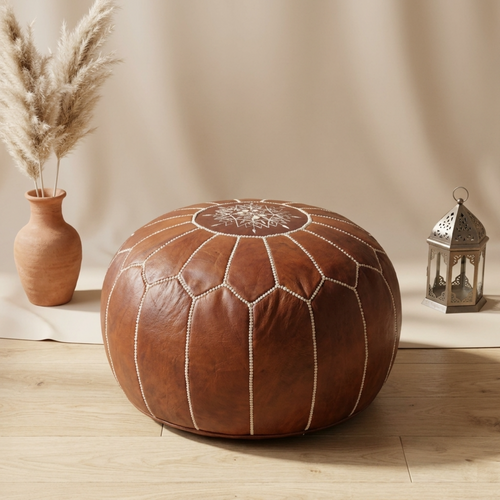
Pro tip: If you're not feeling the DIY vibe, check out this collection of handmade ottomans and poufs — some killer designs in there.
How Do You Cut the Fabric?
Time to get cutting:
- Measure and cut two circles for the top and bottom (about 22 inches in diameter)
- Cut a long rectangle for the sides (about 22 inches high and long enough to wrap around your circles)
Don't stress if it's not perfect — we're going for homemade charm here.
How Do You Sew It Together?
Time to channel your inner tailor:
- Pin the long rectangle to one of the circles, right sides together
- Sew around the circle, leaving a 1/2 inch seam allowance
- Repeat with the other circle, but leave a 6-inch gap for stuffing
If you're hand-sewing, put on your favorite show — this might take a while.
How Do You Stuff the Pouf?
Here's where the magic happens:
- Turn your pouf right side out through the gap
- Start stuffing — old clothes work great, but you can use poly-fil for a fluffier feel
- Keep stuffing until it's nice and firm
A well-stuffed pouf is a happy pouf.
Finishing Touches
You're in the home stretch:
- Hand-stitch the gap closed using a hidden stitch
- Give your pouf a good fluff and shape it into a nice round shape
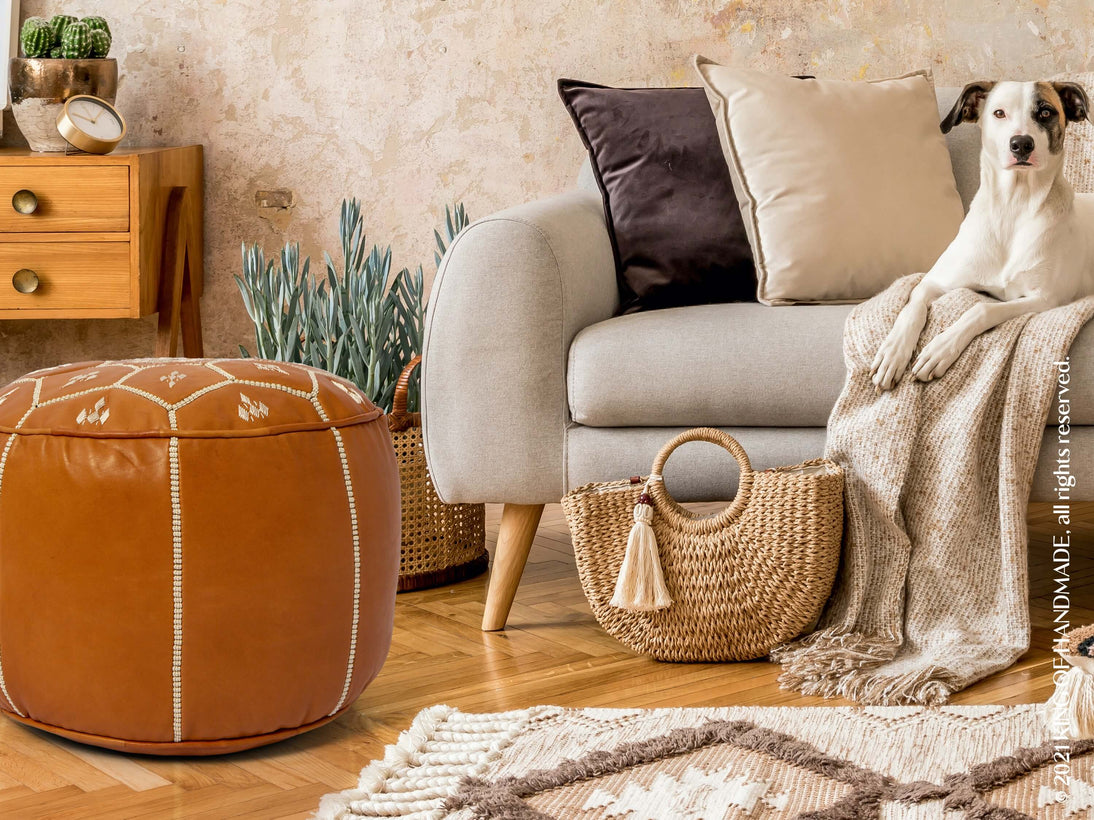
Voila! You've just made your very own ottoman pouf.
How Do You Style Your Pouf?
Your new pouf is seriously versatile:
- Use it as a footrest while lounging on the couch
- Extra seating for unexpected guests
- A cute side table when you add a tray on top
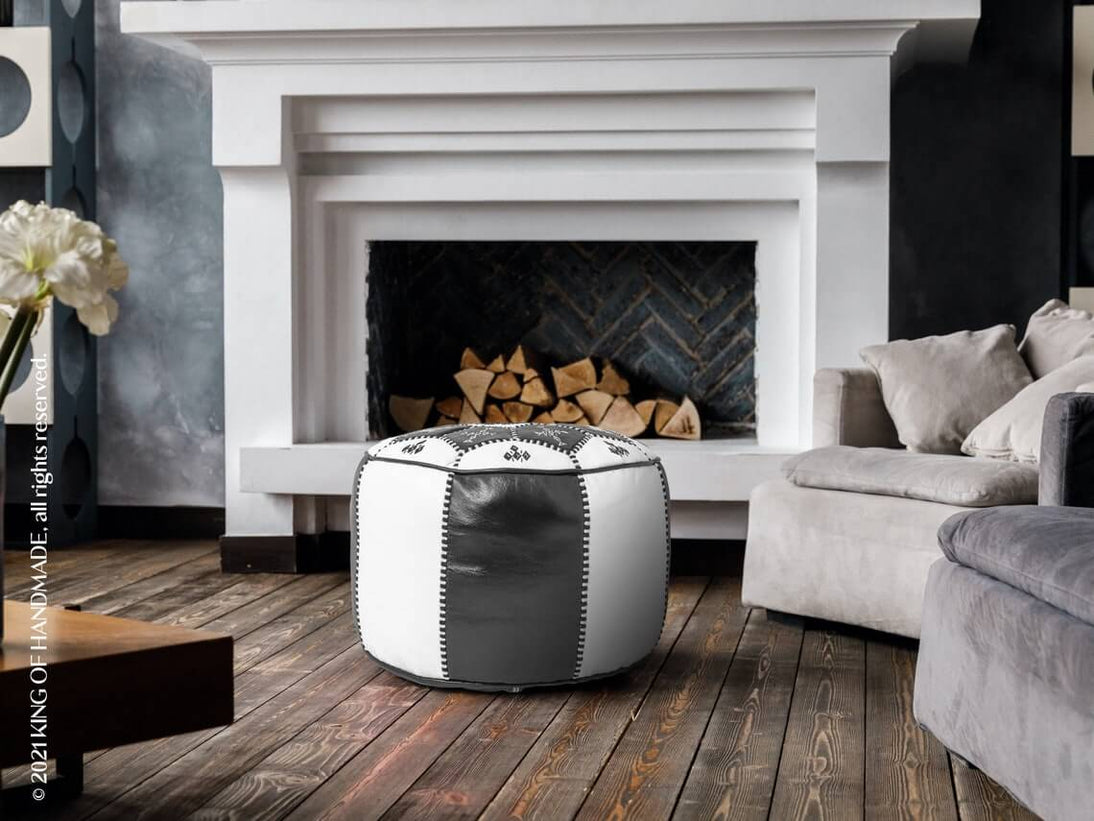
If you're digging the Moroccan vibe, check out this gorgeous Moroccan leather pouf in dark tan — the real deal, and it would look amazing in any room.
How Do You Clean and Maintain It?
Keep your pouf looking fresh with these easy tips:
- Vacuum regularly to keep dust at bay
- Spot clean any spills ASAP
- Fluff and reshape occasionally to maintain its form
With a little TLC, your pouf will be your living room MVP for years to come.
Why Make Your Own?
Buying a ready-made pouf is easy, but here's why DIY rocks:
- It's way cheaper
- You can customize the size and fabric
- It's a fun project (and bragging rights)
- You'll appreciate it more knowing you made it
Plus, it's a great way to upcycle old fabrics and clothes.
Troubleshooting
Hit a snag? Don't sweat it:
- If it's too floppy, add more stuffing
- Wonky shape? Keep fluffing and reshaping
- Seams coming apart? Reinforce with a second line of stitching
Your pouf's little quirks are what make it uniquely yours.
Frequently Asked Questions
How long does it take to make a DIY ottoman pouf?
It depends on your sewing skills, but most people can finish in a weekend. Give yourself 4-6 hours of actual work time, spread over a couple of days.
Can I make a pouf without sewing?
Absolutely! Try using a large, sturdy fabric bag (like an IKEA bag) and simply stuff it. Tie off the top, and voila! It's not as durable, but it works in a pinch.
What's the best stuffing to use?
Old clothes or fabric scraps work great and are eco-friendly. For a fluffier pouf, use poly-fil or foam pieces. Mix and match for the perfect consistency!
How do I clean my DIY pouf?
It depends on your fabric choice. Most can be spot cleaned with mild soap and water. For deeper cleaning, consider making a removable cover that you can toss in the wash.
There you have it — your very own DIY ottoman pouf guide. Whether you're a crafting pro or a total newbie, you've got this. And if DIY isn't your thing, there's no shame in buying a handmade beauty.