How to Stuff a Moroccan Pouf: Easy DIY Guide
Posted by ADIL ROUAY
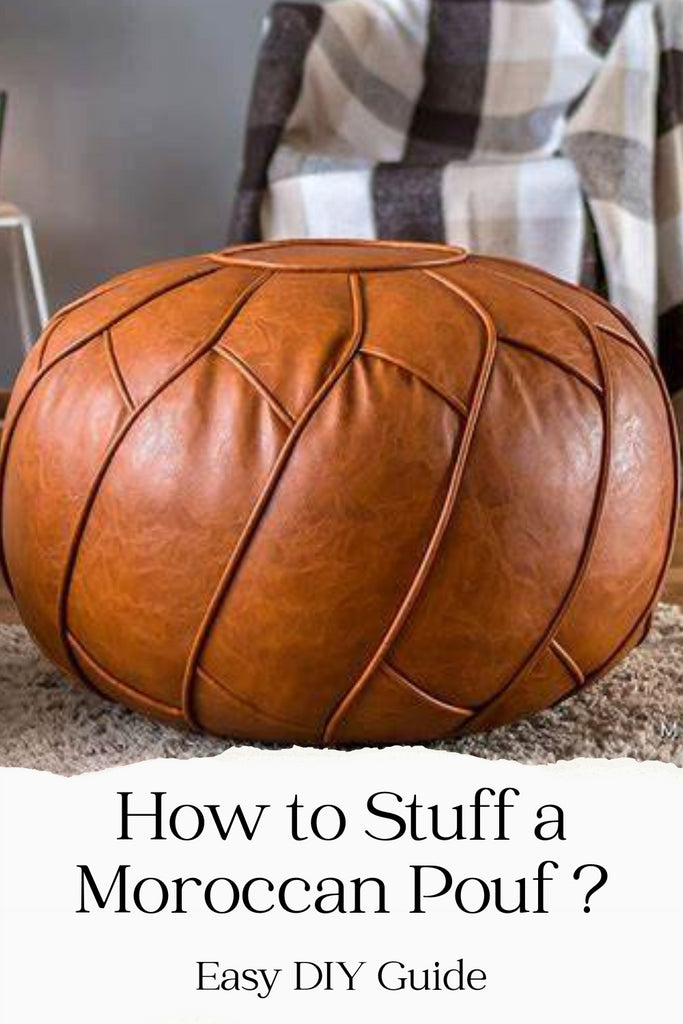
Choosing Your Stuffing Material
First things first, you've got to decide what to fill your pouf with. There's no one-size-fits-all answer here. It depends on the look and feel you're after. Here are some options I've tried: • Polystyrene balls: Light and fluffy, great for a soft pouf • Foam chips: Similar to polystyrene, but a bit denser • Old plastic bags: Eco-friendly option, but can be noisy • Scrunched-up newspapers: Another green choice, but may settle quickly • Cotton, felt, or wool: Creates a firmer, heavier pouf • Old towels and sheets: Perfect for upcycling, gives a dense fill My go-to? A mix of polystyrene balls and foam chips. It gives that perfect balance of squish and support.Prepping for the Stuffing Session
Before you dive in, make sure you've got everything ready. Trust me, it'll save you a headache later. 1. Clean your chosen material. Nobody wants a dusty pouf. 2. Find the zipper at the bottom of your pouf cover. Open it up wide. 3. If you're using polystyrene balls, grab an old pillowcase to use as a liner. Those little beads are escape artists! 4. Choose your battlefield wisely. I learned the hard way that stuffing a pouf with polystyrene balls in your living room is a recipe for disaster. Take it to the bathroom or outside if you can.
The Stuffing Process: Let's Get Hands-On
Alright, it's time to roll up your sleeves and get stuffing. Here's my tried-and-true method: 1. Start at the top. Fill those sides first, making sure to get into all the nooks and crannies. This sets you up for a well-shaped pouf. 2. Add your stuffing in layers. Don't just dump it all in at once. Trust me, I've made that mistake before. 3. After each layer, give it a good push down. You want it firm, but not rock-hard. Think of it like making a sandwich - you want it packed, but still with some give. 4. Keep going until your pouf is full. It might look overstuffed at first, but it'll settle over time. 5. If you're using a mix of materials, layer them. I like to put softer stuff on top for extra comfort. Remember, stuffing a pouf isn't a race. Take your time and enjoy the process. It's oddly satisfying, like building a comfy, squishy sculpture.The Final Touches
Once you've stuffed your pouf to the brim, give it a good shake and pat it into shape. Sit on it, roll it around a bit. This helps distribute the filling evenly. Now, zip it up and admire your handiwork. Pretty cool, right? You've just transformed a flat piece of fabric into a stylish piece of furniture. But here's a pro tip: don't be too quick to call it done. Your pouf will settle over time, especially in the first few weeks. Keep some extra stuffing on hand to top it up as needed.Styling Your Newly Stuffed Pouf
Now that you've got your pouf stuffed and ready to go, let's talk about how to use it. These versatile pieces can really tie a room together. In the living room, they make great footrests or extra seating for guests. I've got mine paired with a comfy armchair, creating the perfect reading nook. For a boho vibe, try grouping a few poufs of different sizes and colors. It creates a relaxed, inviting atmosphere that's perfect for casual gatherings. Check out this stunning collection of Moroccan poufs for some inspiration. You'll find a variety of styles that can complement any decor.Maintaining Your Pouf
To keep your pouf looking its best, give it a good fluff every now and then. If it's starting to look a bit flat, don't hesitate to unzip and add more stuffing. For leather poufs, a little conditioning now and then will keep the material soft and supple. And for fabric poufs, a gentle vacuum can work wonders for removing dust and pet hair.
Taking It Up a Notch
If you're feeling adventurous, why not try making your own pouf cover? It's a great way to get exactly the style you want. Or, if sewing isn't your thing, consider customizing a plain pouf with some fabric paint or embroidery. For those who prefer a ready-made option, this beautiful Moroccan square leather ottoman could be just what you're looking for. It's a stunning piece that adds instant elegance to any room. Stuffing and styling your Moroccan pouf is more than just a home decor project. It's a chance to add a personal touch to your living space. Each pouf tells a story - the materials you chose, the effort you put in, the memories you'll make while using it. So go ahead, give it a try. Transform that flat pouf cover into a cozy, stylish seat. And remember, there's no right or wrong way to do it. It's all about creating something that feels right for you and your home.Frequently Asked Questions
How long does it take to stuff a Moroccan pouf?
The time it takes to stuff a Moroccan pouf can vary, but typically it takes about 30 minutes to an hour. It depends on the size of the pouf and the type of stuffing you're using. Take your time and enjoy the process - rushing can lead to an unevenly stuffed pouf.
Can I wash my Moroccan pouf cover?
It depends on the material. Leather poufs should be spot cleaned with a damp cloth and mild soap. Fabric poufs might be machine washable, but always check the care label first. If in doubt, professional cleaning is your safest bet.
How often should I restuff my pouf?
This varies depending on use, but generally, you might need to add more stuffing every 6-12 months. If you notice your pouf looking a bit flat or less supportive, it's probably time for a top-up. Keep some extra stuffing on hand for quick touch-ups.
Are Moroccan poufs comfortable to sit on?
Absolutely! When properly stuffed, Moroccan poufs are surprisingly comfortable. They provide a firm yet yielding surface that's great for casual seating. Many people find them more comfortable than sitting directly on the floor, making them perfect for creating cozy, informal seating areas.
