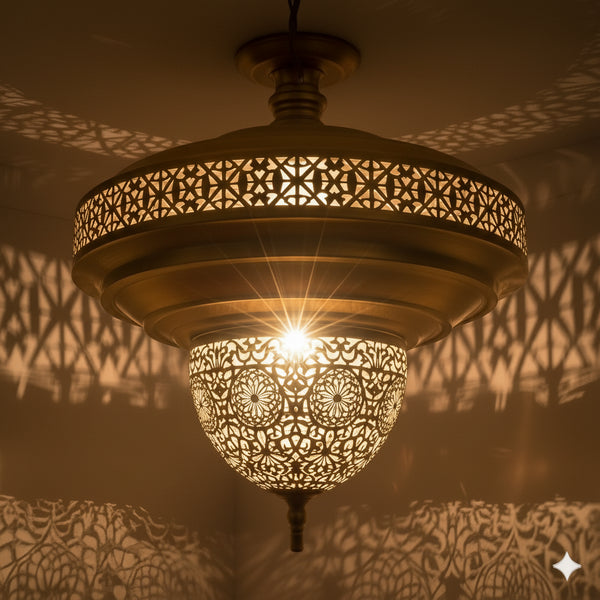
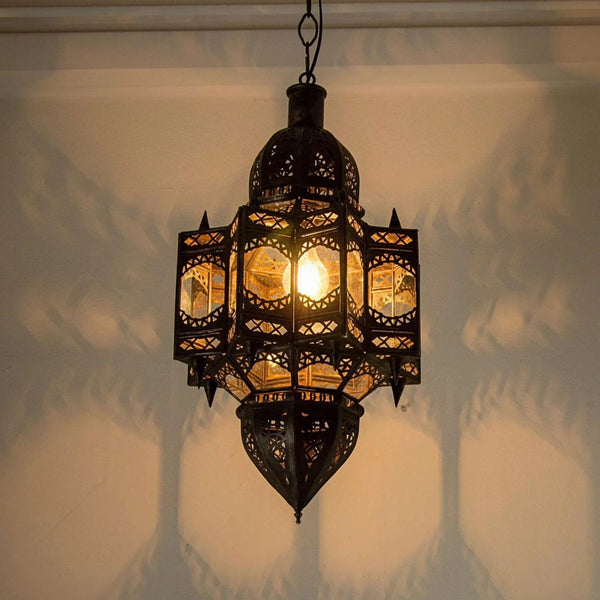
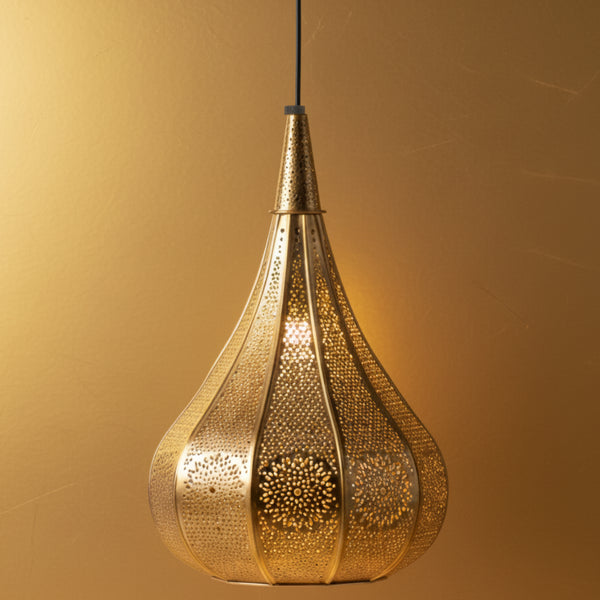
DIY Installation Guide: Hanging Your New Black and Brass Chandelier
Posted by ADIL ROUAY

you got new handmade lights + can't wait to level up your home's vibe, am i right?
hanging your new black and brass chandelier or pendant light fixtures ain't no walk in the park though
i've been there - stressing over whether it'll look silly or come crashing down mid-movie night
but don't sweat it, i got your back with this simple diy installation guide
ready to turn those lights on and let the ambiance flow?
let's get started!
gather your tools + materials
first up, make sure you have all the right tools + materials within reach
- your new handmade light fixture
- screwdrivers (flathead + phillips head)
- wire strippers
- wire nuts
- electrical tape
- ladder (get a sturdy one!)
- a level
got everything ready? sweet, let's keep going
turn off power to the light
safety first! head to your circuit breaker and flip the switch to cut power to the light you're installing
use a voltage tester to double check there's no power running through those wires
now you're all set to work without risking a nasty shock
remove old light fixture (if any)
if you're replacing an existing light, carefully take it down now
- unscrew it from the mounting bracket
- disconnect the wires (and label them if you're unsure which is which)
- set the old fixture aside
with that out of the way, take a look at the wiring situation
you should have a black (hot) wire, a white (neutral) wire, and a green or bare copper (ground) wire
if there's anything else going on or you're confused, play it safe and call an electrician
install mounting bracket
now it's time to secure your new light's mounting bracket
- use the level to center the bracket on the ceiling junction box
- screw that sucker into the box nice and tight
easy peasy so far, right? we're making progress!

connect the wires
here's where it gets a tiny bit fiddly, but stay with me
- strip about an inch off the ends of each wire
- twist the exposed black wires from the light and ceiling together
- secure them with a wire nut and wrap electrical tape around it
- do the same with the white neutral wires
- connect the ground wires (green or bare copper) the same way
make sure all those connections are nice and tight!
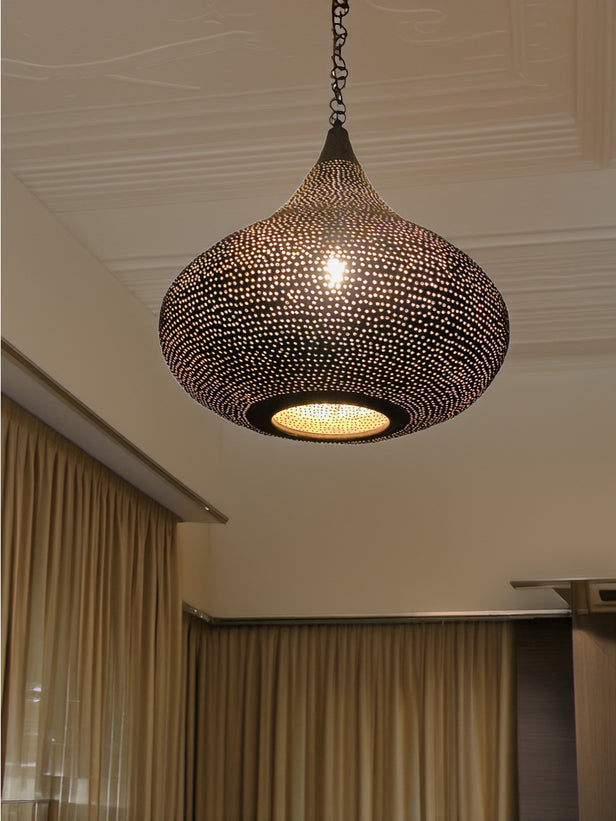
hang + secure the light fixture
you made it this far, the hardest part is done!
- carefully tuck the wired connections into the ceiling box
- raise your new light fixture up and secure it to the mounting bracket
- make any adjustments needed to level it out perfectly
- flip the circuit breaker back on to admire your handiwork!
bam, you installed that puppy all by yourself like a total boss
enjoy basking in the warm, handmade glow while you kick back
Frequently Asked Questions
What if my ceilings are really high?
Grab a taller ladder or consider hiring a professional to hang lights safely on very high ceilings.
How do I clean my new light fixture?
Use a soft, dry cloth to gently dust it. For stuck-on grime, make a mild soap and water solution and wipe carefully.
Can I dim these handmade lights?
Most are compatible with dimmer switches, but double check the product details on the exact model you bought.
How long will my new lights last?
With proper installation and basic maintenance, handmade lights can provide decades of warm ambiance in your home.
