DIY Guide: Creating Your Own Moroccan Lamp
Posted by ADIL ROUAY
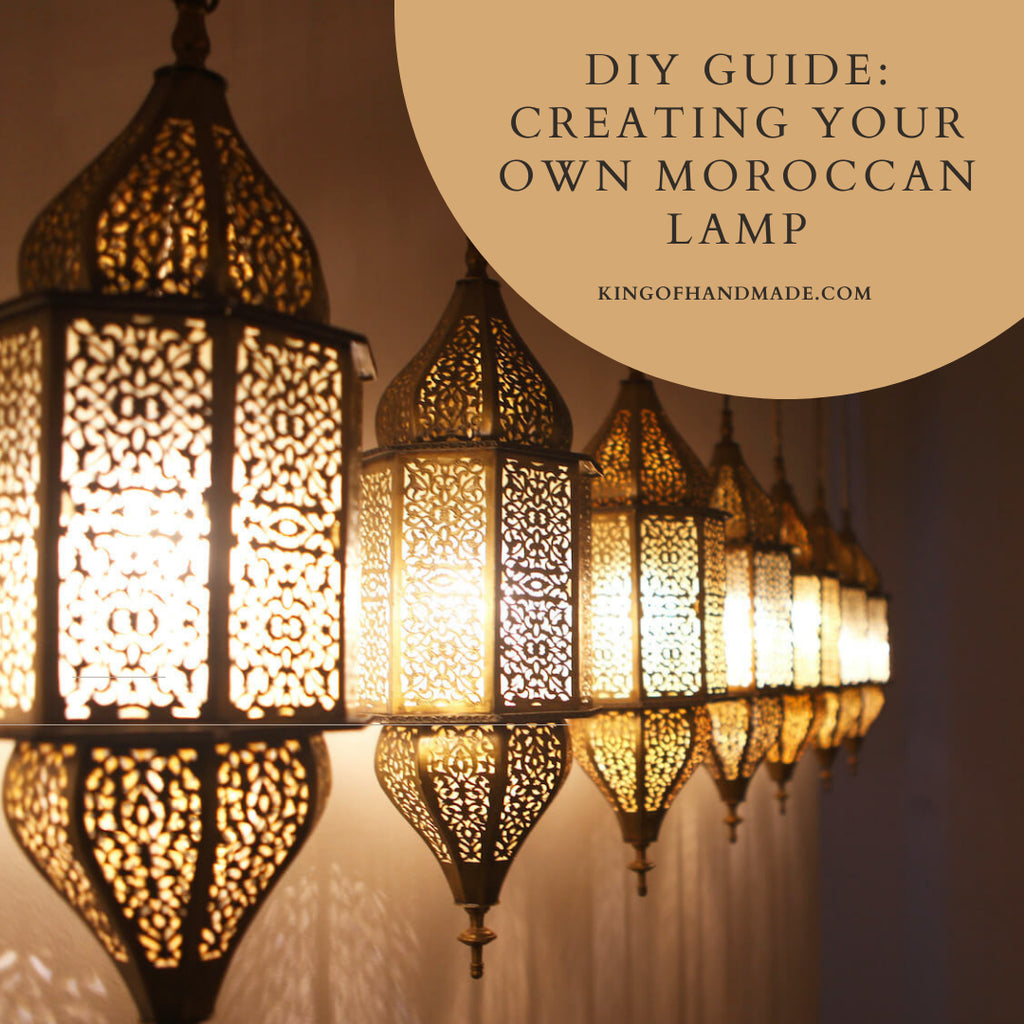
Creating your own Moroccan lamp is a fantastic way to bring a touch of exotic charm to your home. It's a fun DIY project that lets you express your creativity and add a unique, handcrafted piece to your decor. Let's dive into how you can make your very own Moroccan-inspired lamp, step by step.
Gathering Your Materials
Before we jump in, let's round up everything we'll need:
- A lamp base (metal or wood works great)
- Colorful glass or plastic beads
- Wire mesh or chicken wire
- Wire cutters
- Pliers
- Glue gun and glue sticks
- Spray paint (optional)
- Light bulb and socket
Got everything? Awesome! Let's get crafting.
Shaping Your Lamp
First things first, we need to create the shape of our lamp. This is where the wire mesh comes in handy.
- Cut the wire mesh into a large circle.
- Fold it into a cone shape, overlapping the edges.
- Secure the overlapped edges with wire or hot glue.
- Trim the bottom to fit your lamp base.
Voila! You've got the basic structure of your Moroccan lamp.
Adding Some Color
Now for the fun part - decorating! This is where your lamp really starts to shine (pun intended).
- Sort your beads by color or size.
- Start at the bottom of your wire cone and begin gluing beads to the mesh.
- Work your way up, creating patterns or random designs as you go.
- Leave small gaps between beads to let light shine through.
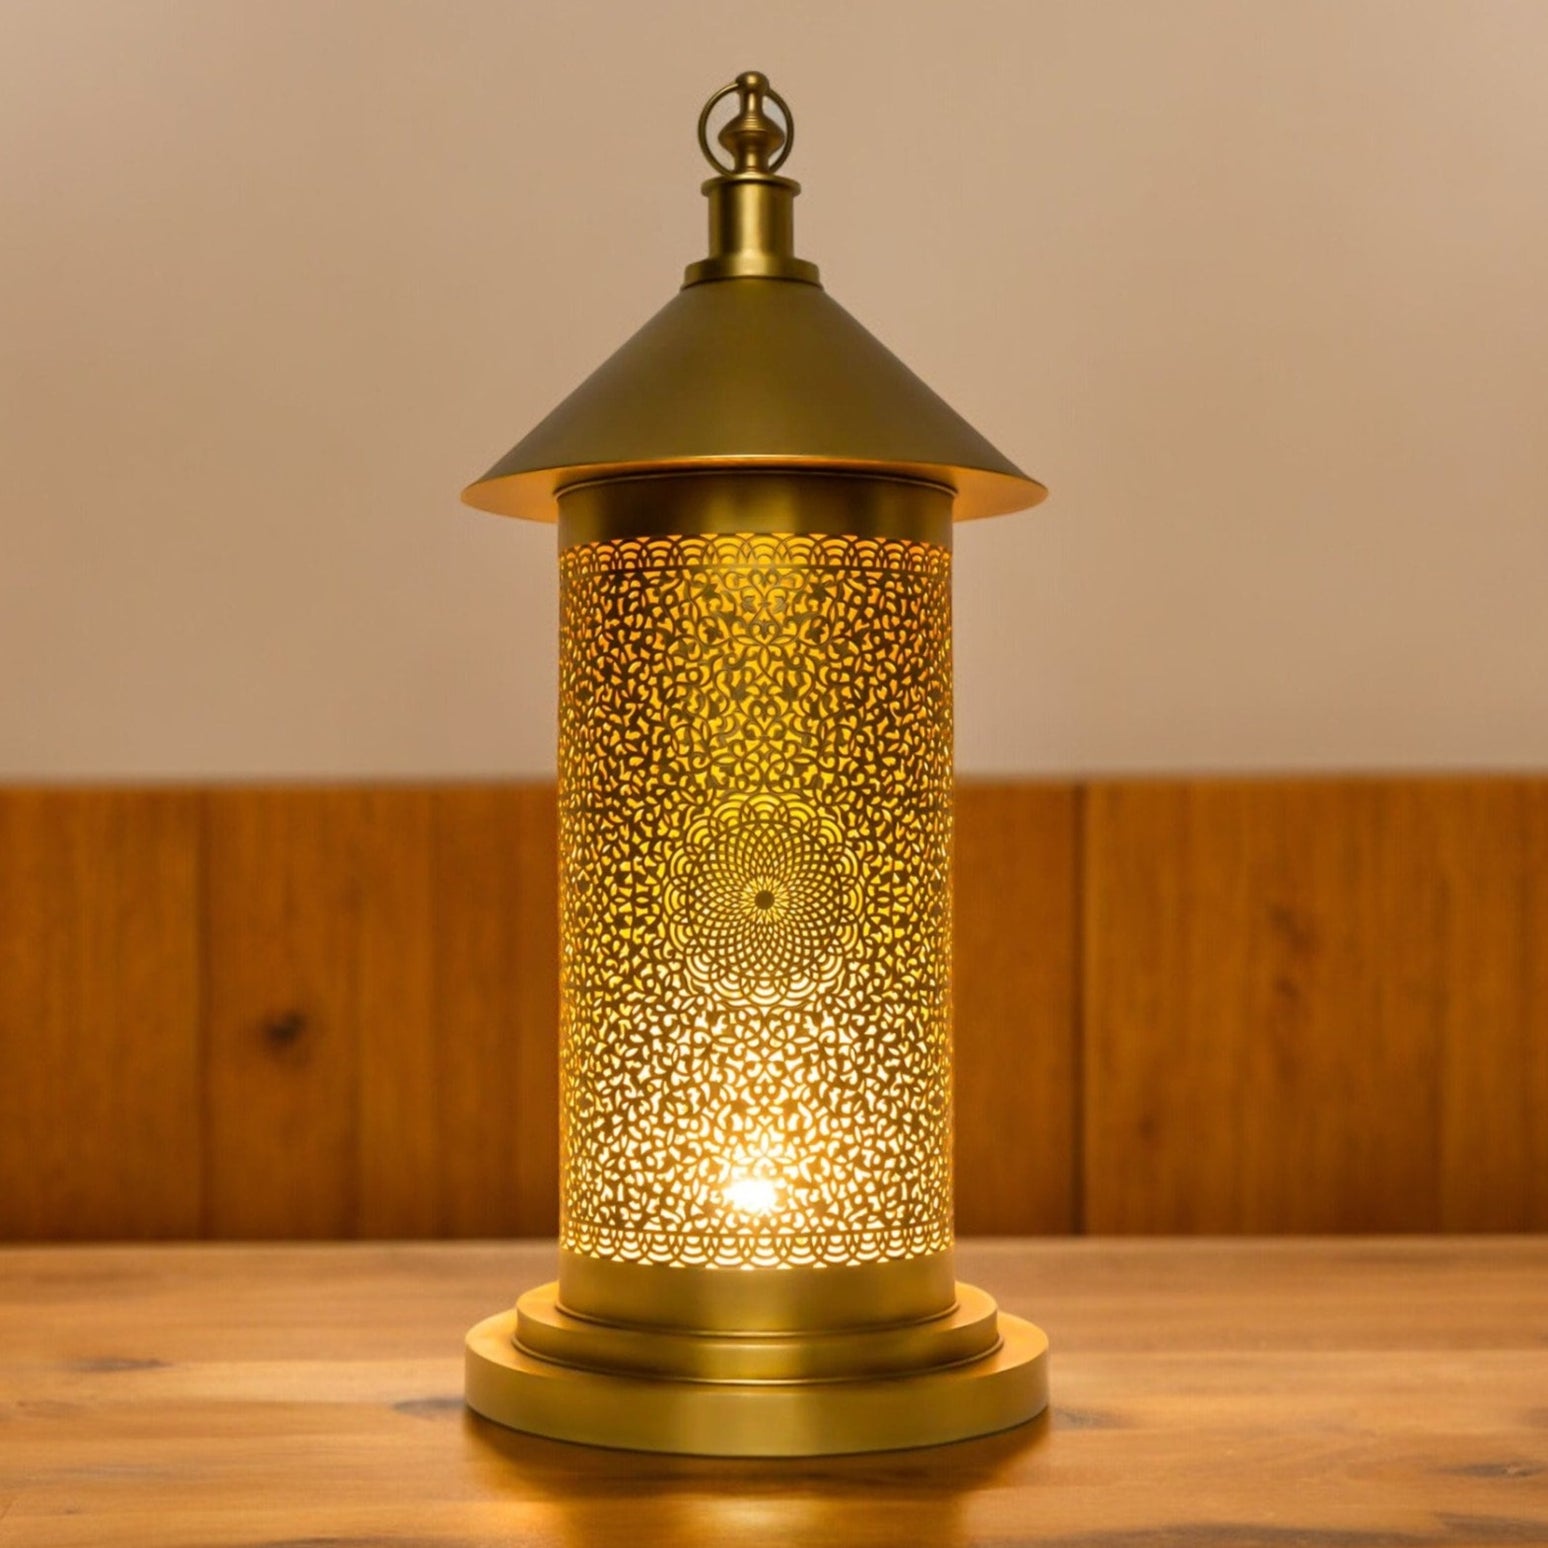
Remember, there's no right or wrong way to do this. Let your creativity flow!
Finishing Touches
We're in the home stretch now. Just a few more steps to complete your masterpiece:
- Attach your decorated cone to the lamp base.
- Install the light socket and bulb.
- If desired, spray paint the base to match your beads.
- Give everything a final check to ensure it's secure.
And there you have it - your very own Moroccan-inspired lamp!
Taking It Up a Notch
If you're feeling extra ambitious, why not try these advanced techniques:
- Use metal filigree pieces for added texture.
- Incorporate small mirrors for a dazzling effect.
- Experiment with different shapes like cylinders or globes.
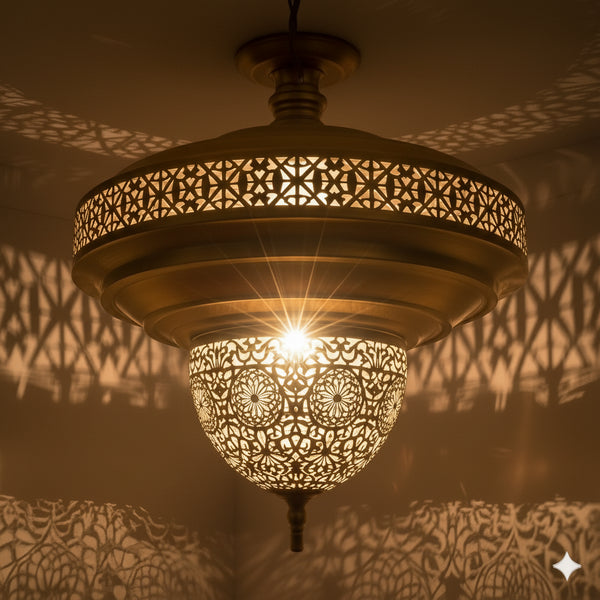
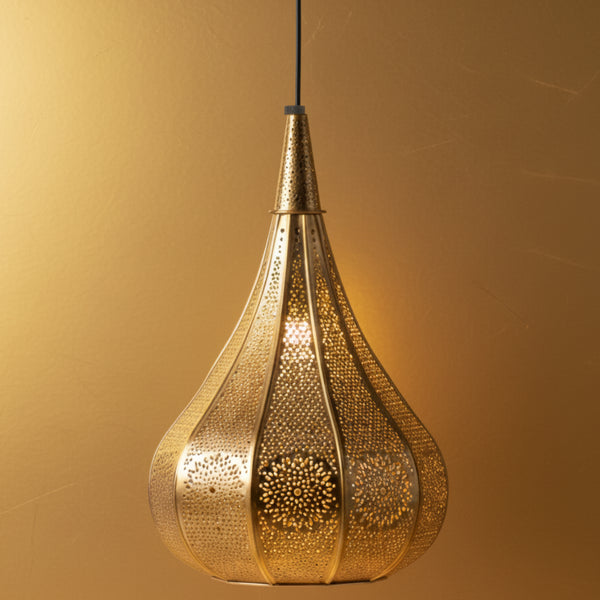
The sky's the limit when it comes to customizing your lamp. For more inspiration, check out this stunning handmade Moroccan pendant light. It's a great example of the intricate designs you can achieve.
Safety First!
While we're all about creativity, let's not forget about safety:
- Ensure your lamp is stable and won't tip over.
- Use LED bulbs to reduce heat.
- Keep flammable materials away from the bulb.
- Double-check all electrical connections.
Better safe than sorry, right?
Styling Your Moroccan Lamp
Now that you've created your masterpiece, let's talk about how to show it off:
- Place it on a side table for a cozy reading nook.
- Hang it from the ceiling as a statement piece.
- Group multiple lamps together for a dramatic effect.
- Use it as a centerpiece on your dining table.

Remember, Moroccan lamps are all about creating a warm, inviting atmosphere. Let your lamp be the star of the show!
Troubleshooting Common Issues
Hit a snag? Don't worry, it happens to the best of us. Here are some common issues and how to fix them:
- Beads falling off? Use a stronger adhesive or try wire-wrapping.
- Lamp wobbling? Ensure your base is wide and stable enough.
- Not enough light? Try a brighter bulb or adjust your bead placement.
- Too much light? Add more beads or use a lower wattage bulb.
Remember, crafting is all about problem-solving. You've got this!
Getting Inspired
Feeling a bit stuck? Here are some ways to get those creative juices flowing:
- Browse Moroccan design books or websites.
- Visit local markets or craft fairs for unique bead options.
- Look at traditional Moroccan patterns for design ideas.
- Experiment with color combinations you love.
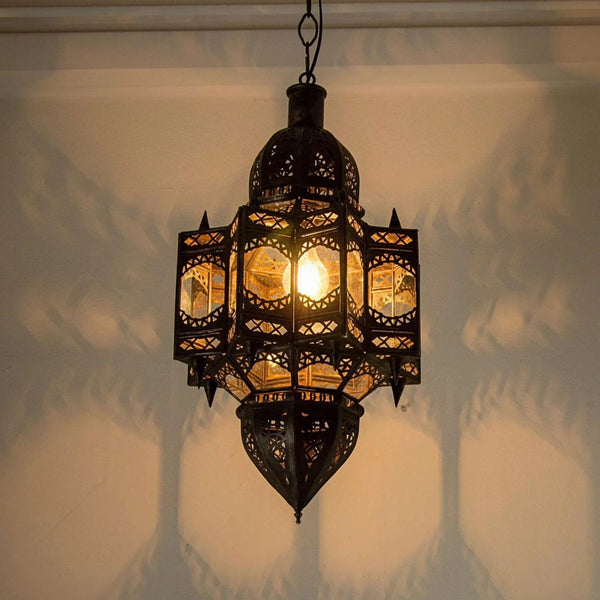
For even more inspiration, check out this gorgeous luminous lighting collection. It's packed with beautiful Moroccan-inspired pieces that might spark your next great idea.
Creating your own Moroccan lamp is more than just a DIY project - it's a journey into a rich cultural tradition. Each bead you place, each pattern you create, tells a story. So take your time, enjoy the process, and remember: the most beautiful lamps are the ones made with love and creativity.
Ready to start your Moroccan lamp adventure? Grab your materials and let's get crafting! Who knows, you might just discover a new passion. And if you get stuck, remember there's a whole community of DIY enthusiasts out there ready to help. Happy crafting!
Frequently Asked Questions
What type of beads work best for a Moroccan lamp?
Glass beads are traditional and create a beautiful effect, but plastic beads can work well too, especially for beginners. Look for a mix of sizes and colors to create interesting patterns.
Can I use a ready-made lampshade instead of making one from wire mesh?
Absolutely! While creating your own shape with wire mesh allows for more customization, you can definitely use a ready-made lampshade as your base. Just make sure it's sturdy enough to hold the weight of the beads.
How long does it typically take to complete a DIY Moroccan lamp?
The time can vary greatly depending on the complexity of your design and how much time you can dedicate to the project. A simple design might take a weekend, while more intricate patterns could take several weeks of work. Remember, it's not a race - enjoy the process!
Are there any alternatives to using a glue gun for attaching beads?
While a glue gun is often the easiest option, you can also use strong craft adhesive or even wire to attach beads. Some crafters prefer to string beads on wire and then wrap this around the lamp frame for a different look.
